MicroStack: Deploy OpenStack with Ease
-Shafin Hasnat
Jan 12, 2023
Introduction
MicroStack is a project that makes it easy to install and run OpenStack on a single machine. OpenStack is a set of software tools for building and managing cloud computing platforms for public and private clouds. It provides a variety of services that can be used to create and manage virtual machines, networks, storage, and other resources.
MicroStack aims to make it simpler to deploy OpenStack on a single machine, for development, testing and learning purposes. It does this by providing a convenient way to install and run a limited subset of OpenStack services on a single machine, using container technology.
Currently, MicroStack supports the following OpenStack services:
- Glance: An image service that provides storage and retrieval of virtual machine images.
- Horizon: A web-based management interface for OpenStack.
- Keystone: An identity service that provides authentication and authorization for other OpenStack services.
- Neutron (with OVN): A networking service that provides virtual networks and security groups. OVN (Open Virtual Network) is a Neutron plugin that uses the Open vSwitch for networking.
- Nova: A compute service that provides virtual machines and manages the underlying compute infrastructure. So the users can launch and run instances, create and manage networks, storage, and other resources using the above services on single machine. Also, developers can use MicroStack to test their OpenStack applications and plugins locally before deploying them to a larger environment.
This blog will begin by demonstrating the deployment of Microstack on a single node virtual machine. The second part of the blog will cover the multi-node approach.
Reference: https://microstack.run/docs
Preparing VM
To set up a virtual machine (VM) for Microstack, you can either use a cloud provider, or create your own VMs using tools like VirtualBox or Vagrant. In this guide, we will be using Brilliant Cloud. The recommended configuration for Microstack includes a multicore CPU, 8 GB of memory, 1 GB of storage and Ubuntu 18.04 LTS or 20.04 LTS operating system. Additionally, you should attach a public IP and configure your firewall to allow access on ports 80 and 443 in order to allow access to horizon from the internet.
Installation
Installation of microstack is pretty much straight forward. First install snap-
sudo apt update -y
sudo apt install snapd
Install microstack-
sudo snap install microstack --beta
After successful installation, initialise microstack-
sudo microstack init --auto --control
It may take lot of time depending on your machine. It sets up all services and database for OpenStack.
In my attempt of initialization, I ended up with an error like below-
raise subprocess.CalledProcessError(proc.returncode, “ “.join(args))
subprocess.CalledProcessError: Command 'openstack network create test' returned non-zero exit status 1.
Installing python manually solved this issue (Reference)[https://bugs.launchpad.net/microstack/+bug/1950765/comments/1]
sudo apt install python python-dev
Then run microstack init command again.
Horizon
Horizon is running on https://10.20.20.1 in our virtual machine. To access it from the internet, we will use nginx.
First install docker to deploy nginx or install nginx directly from apt package manager.
sudo apt install -y docker.io
sudo usermod -aG docker $USER
newgrp docker
Create nginx.conf file and edit like below-
server {
  listen 80;
  location / {
    proxy_pass https://10.20.20.1;
  }
}
Now run docker run command-
docker run -d -p 80:80 -v nginx.conf:/etc/nginx/conf.d/default.conf --name nginx nginx
Create a new subdomain for your domain and point to the public ip of your VM. Cloudflare comes very handy in this case. It handles ssl certificates itself. Now your horizon can be accessed using the new subdomain e.g. https://microstack.example.com.
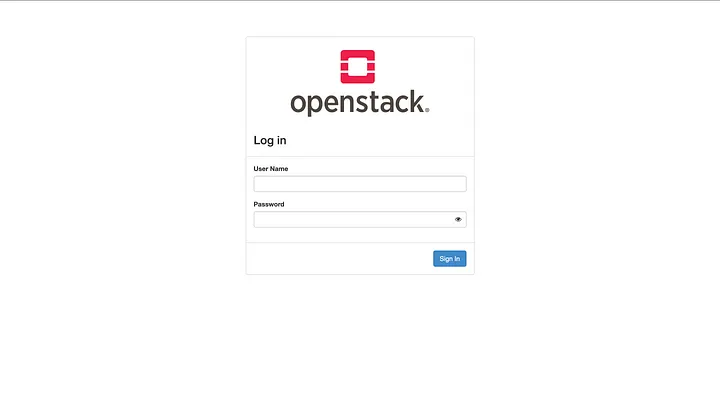
Here User Name is admin. Password for horizon can be retrieved using the command below-
sudo snap get microstack config.credentials.keystone-password
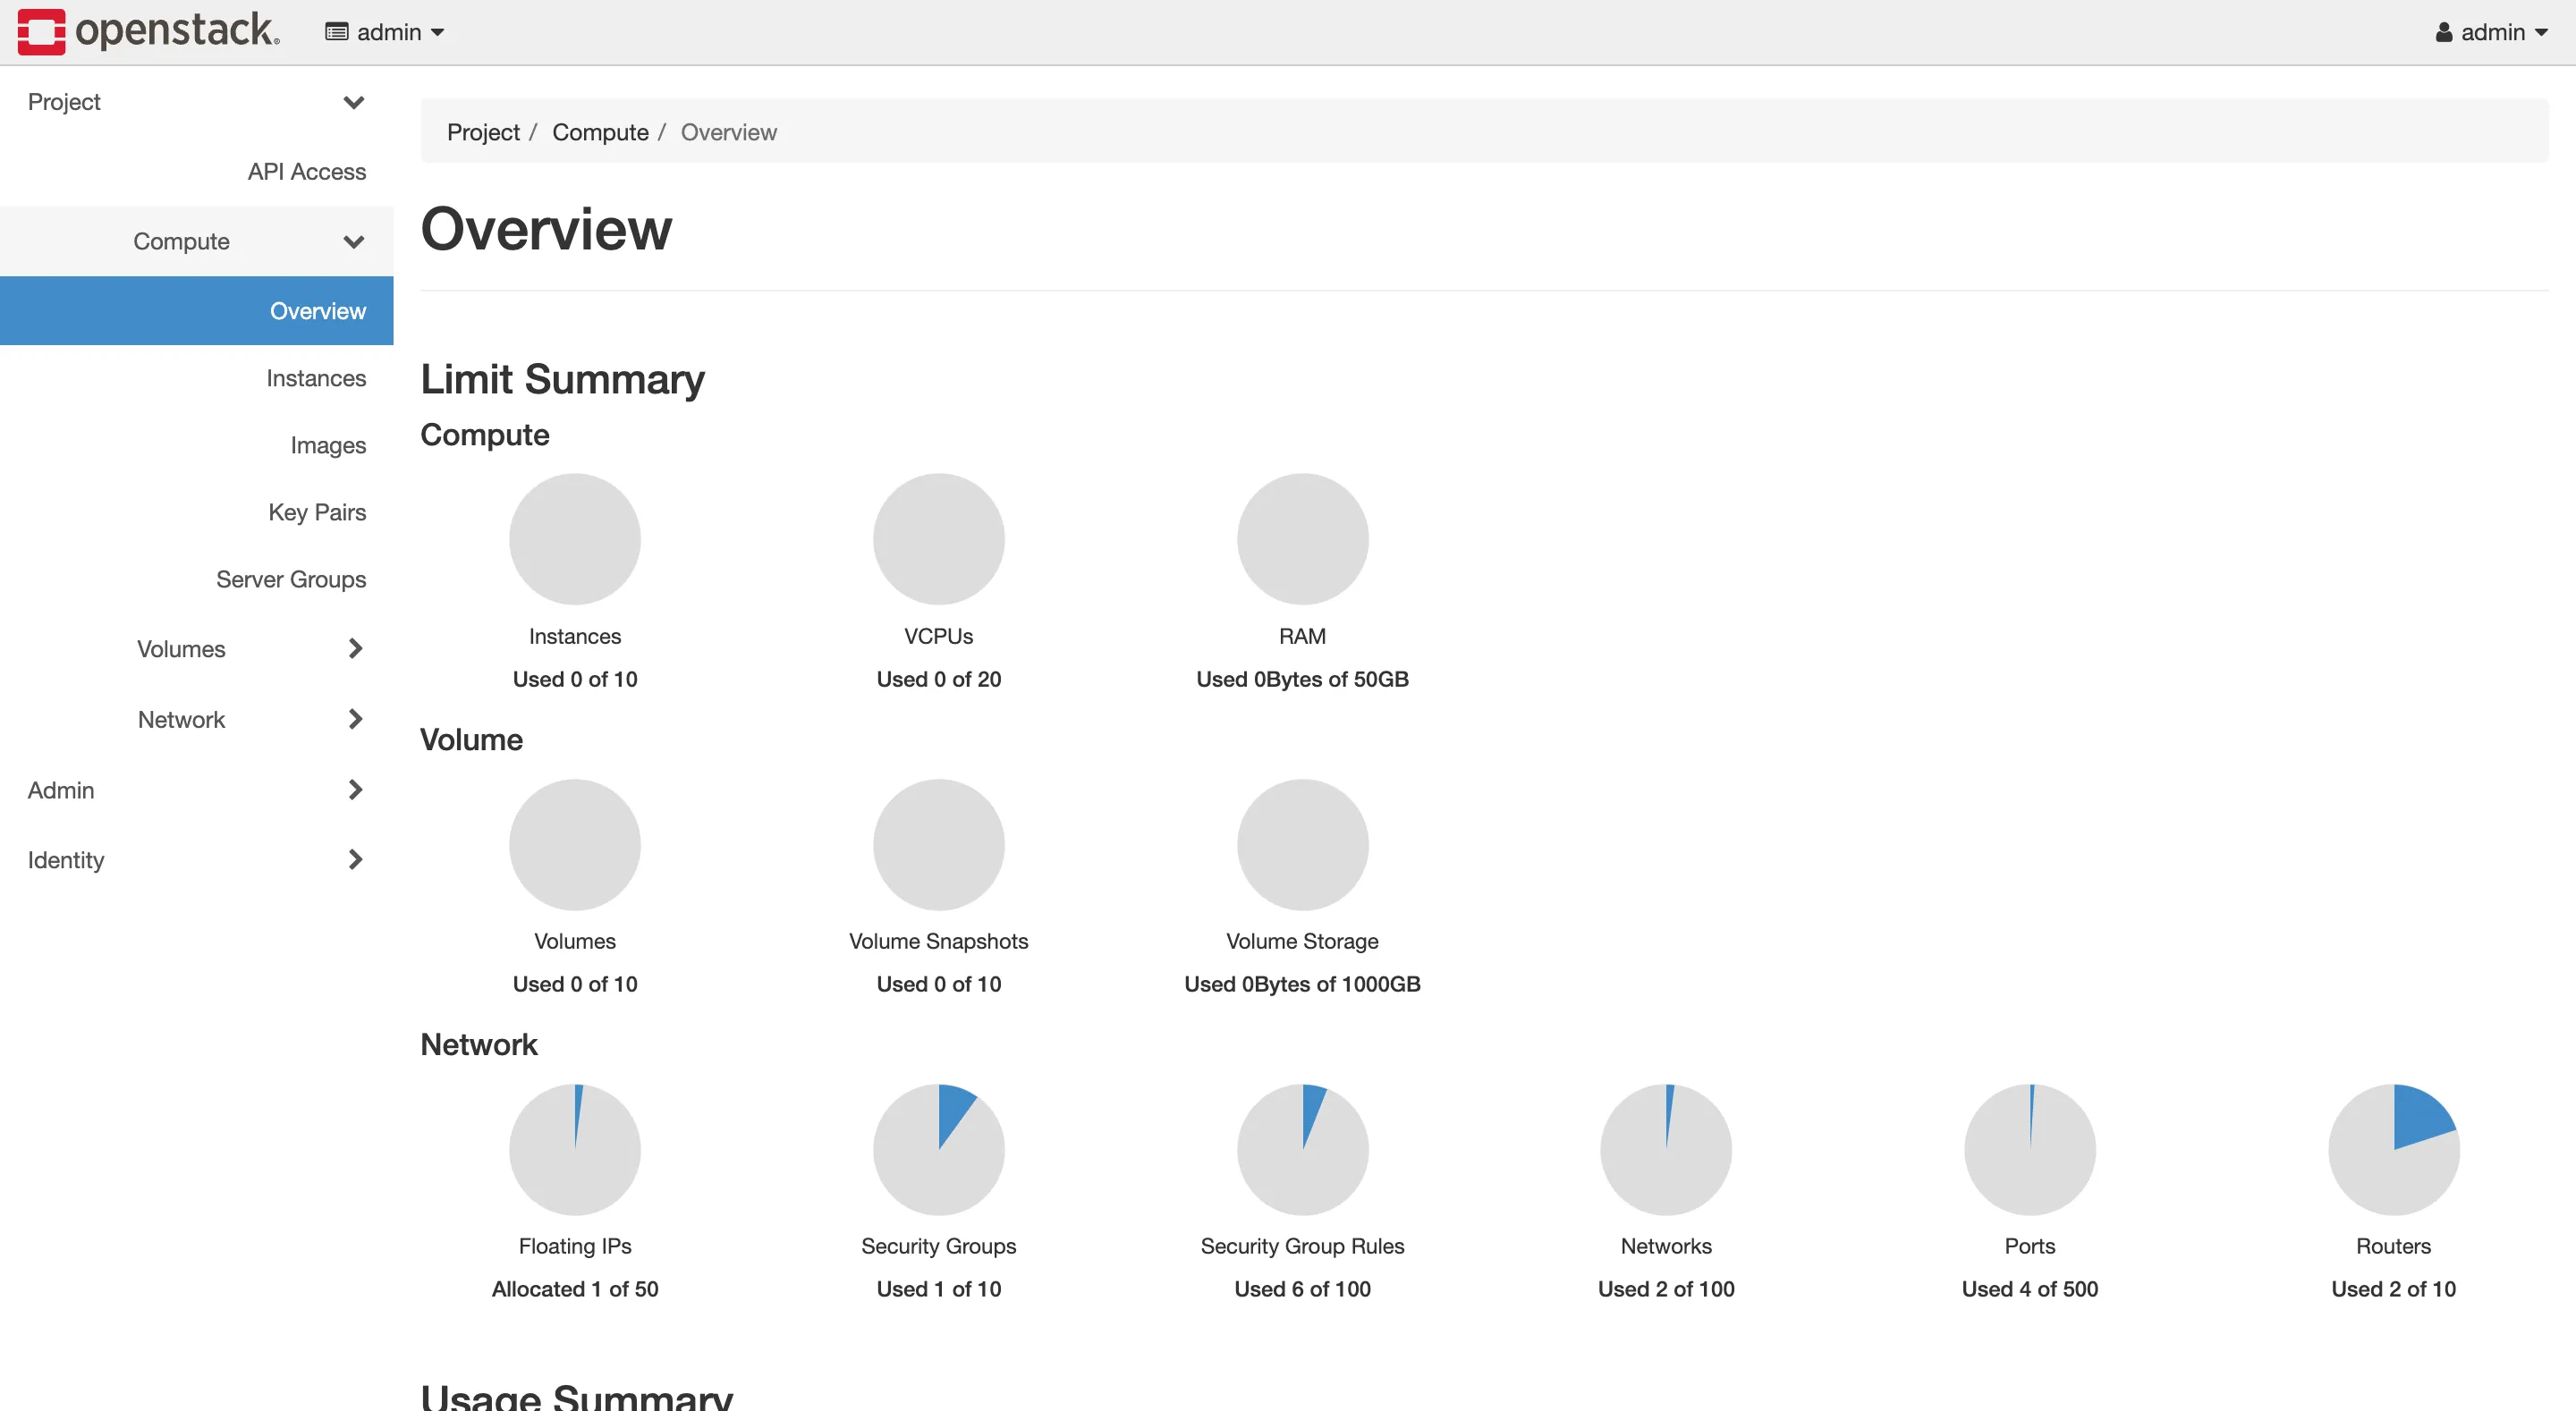
Usage
As microstack is a sandbox environment for OpenStack, it handle many things itself. By default, it comes with floating IP range of 10.20.20.0/24. To launch cirros VM from cli-
microstack launch cirros -n myinstance
It will launch a cirros vm with a floating ip in the vm. You can ssh into the cirros vm using the floating ip. To list your instances-
microstack.openstack server list
What’s next?
This approach illustrates the deployment of MicroStack on a single node. In the next part, we will demonstrate how to implement this approach in a cluster environment.